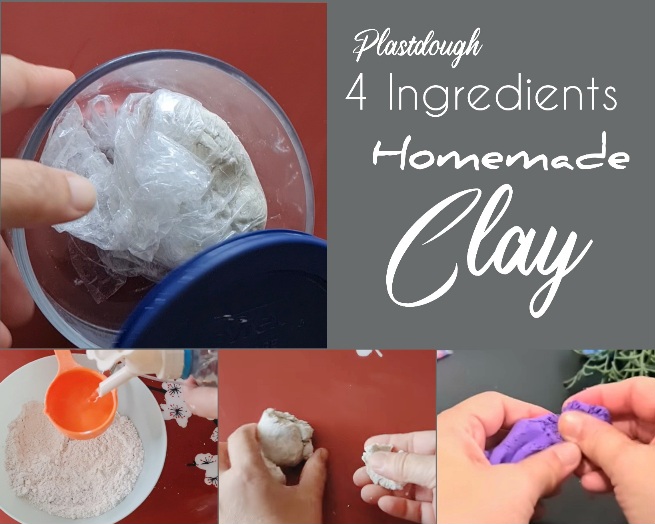
Easy 4-Ingredient Homemade Clay Recipe: DIY Tutorial
This 4-ingredient homemade clay recipe is my new favorite now. Have you been searching for clay recipe? Yes? Well, You’ve arrived at the right spot. Welcome to my cozy clay corner.
Whether you're a seasoned DIY enthusiast on a budget or someone just starting out on the exciting journey of crafting, I’ve got something special for you: new clay recipe which I name it PLASTDOUGH.
I do enjoy experimenting with homemade clay for my clay crafting. This time I’d like to share with you not just one, but three unique Plastdough versions
3 Versions of Plastdough: the 4-Ingredient homemade Clay Recipe
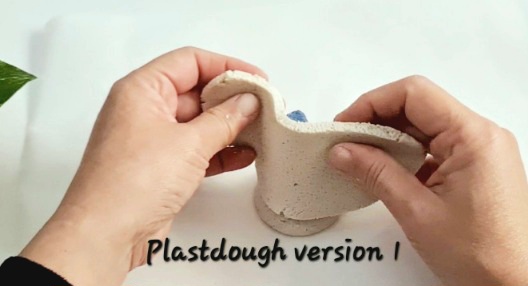
Plastdough Version 1: The Perfect Balance
Let's kick things off with Plastdough Version 1.
What are the ingredients?
Here it is: two parts plaster of Paris, two parts plain flour, two parts salt, and two parts water.
Optional: a few drops of oil.
Now, you might be wondering about the salt. Well, when warmed, it dissolves and makes the clay dry hard, akin to an oven-baked salt dough.
This unique addition gives the clay enough body and weight, enhancing its workability. Unlike many other air-dry clay recipes, this unusual mixture providing a reliable and consistent medium for your clay crafts and dries hard.
You can watch me making 2 cute gnomes with plastdough version 1
Plastdough Version 2: The Need for Speed
Next up is Plastdough Version 2, the 4-ingredient homemade clay recipe designed with the need for speed in mind.
If you're the kind of crafter who loves quick projects, this one is for you.
The recipe involves a slightly different ratio: one part plaster of Paris, half a part plain flour, a quarter part salt, and half part water.
I use more plaster to hasten the drying time, but it comes with a trade-off – the clay might not be as robust as the first version. However, for less intensive projects and those moments when time is of the essence, Plastdough Version 2 opens up a world of quick DIY crafting opportunities.
Check out my "how to" video below.
Plastdough Version 3: The Picasso of Clay

Now, let's talk about the cream of the crop – Plastdough Version 3, my favorite 4-ingredient homemade clay recipe.
This recipe takes a unique approach by preparing a dry mix from three parts plaster of Paris and one part flour to create a clay powder. The best part? No need for water here!
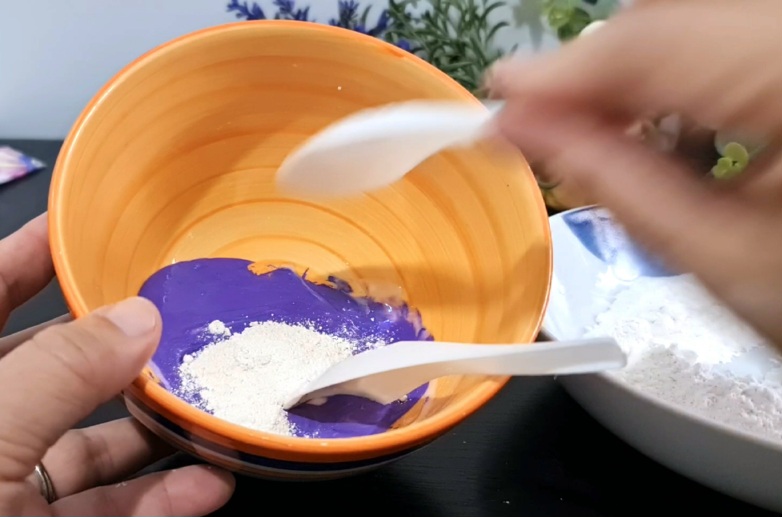
Here's what I normally do: scoop out several spoons or cups of the clay powder, mix it with glue and oil until I have right clay consistency I want (it could be soft like texture paste to spread on cardboard/ glass surface, etc. or hard like store-bought air-dry clay).
What makes this version stand out? I can make pre-colored clay simply by mixing it with acrylic paints. This opens up a world of creativity and vibrant designs beyond the core four ingredients.
Consistency-wise, Version 3 is splendid. With the dry clay powder ready, you have more control over the outcomes compared to the previous two versions. The glue acts as a binder, resulting in a clay texture that's smooth and strong.
What did I make with Plastdough version 3? Here are 2 of many projects I shared at my YouTube channel.
Choosing Your Perfect Plastdough: Pros and Cons
Now that I've introduced you to the three version of 4-ingredient homemade clay recipe: the plastdough, let's take a deeper dive into the pros and cons of each to help you make an informed decision based on your needs and creative aspirations.
Plastdough Version 1
The advantage of Version 1 lies in its perfect balance of ingredients. This clay recipe with four ingredients offers a reliable texture and firmness suitable for a wide range of clay crafting and modeling projects. However, on the flip side, it may take longer to dry due to its ratios, which might not align with those seeking a quick-crafting clay.
Plastdough Version 2
Version 2, with its faster drying time, becomes the ideal solution for creating projects quickly. If you need to make something in a short span of time, this is your go-to recipe. However, the quicker-drying Plastdough Version 2 comes at a cost – it sacrifices some strength, which could be a critical factor depending on your project.
Plastdough Version 3
The third Plastdough is unique in all senses. With the ability to create pre-colored clay, you don't need to wait for your masterpiece to dry before painting it. This not only saves you time but also opens up a broader palette of creative opportunities. On the downside, it's the more complex of the three recipes, involving acrylic paints and the need for glue. It may require some experience in handling and mixing colors to achieve your desired hues.
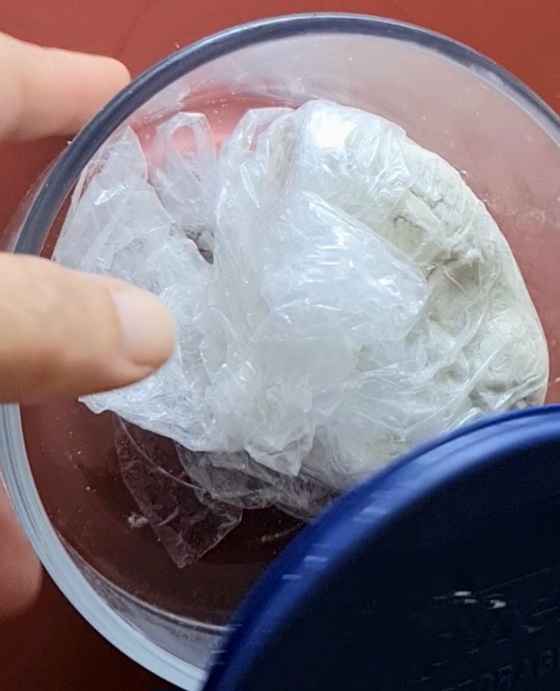
And, I can't store this clay because it dries very fast. Depending on the weather and humidity, the clay will dry in few hours or the next day. Good or bad?
The Ultimate Assurance: No More Cracks!
Before we move forward, let's touch upon a significant benefit shared by all our Plastdough recipes – no more frustrating cracks!
Annoying cracks or fissures can ruin a beautiful clay creation, which is why I developed the Plastdough recipes. The perfect ratios of ingredients ensure that the clay stays crack-free, even when air-dried.
With the details provided, you now have the knowledge to try your hands on each recipe and determine which one provides the right balance for your crafts.
Each Plastdough – the 4-ingredient homemade clay recipe has been tested and modified to be user-friendly, ensuring your DIY project will be a success.
A Practical Solution for All Ages and Settings
For students, hobbyists, and teachers, these recipes offer a practical and affordable solution for encouraging creativity and hands-on activity within a classroom or home setting.
There's no need to invest in expensive clay from stores when you can make clay at home with just four ingredients.
Grandparents looking to engage their grandchildren in creative bonding activities will also find these recipes incredibly helpful.
Making something from scratch and witnessing it harden into a work of art is nothing short of miraculous, especially for young, inquisitive minds.
Embracing Flexibility: Mix and Match for Your Unique Blend
Selecting a clay recipe doesn’t mean sticking to one version forever. Flexibility is the key here, and I encourage you to discover which option works best for your given project, or perhaps even mix and match to create your version!
So, whether you're a home teacher looking to introduce children to the joys of DIY or a hobbyist aiming to create stunning pieces at a reasonable price, this 4-ingredient homemade clay recipe, the Plastdough is your ultimate resource.
The Therapeutic Rhythm of Clay Crafting
Working with clay has a therapeutic effect that syncs the mind and body in a harmonious masterpiece-creating rhythm.
I encourage you to experiment and explore with these recipes to find your favorite for any project. After all, creating with clay is not just about the final product but the journey of making it and the satisfaction of knowing you made it yourself.
On that note, I invite you to try my Plastdough – 4 ingredients homemade clay recipe. Who knows? Your next masterpiece might just be a dough-mix away 😊
Happy Crafting!
Oh..before you go, let me share another good news. I also have made another clay recipe with baking soda and tissue paper. i would say that is my newest best homemade clay. Visit my YouTube channel to watch no cook baking soda clay there. See ya...
|Home | ^Top of Page | More Homemade Clay Recipes|
Please LIKE, SHARE and SUBSCRIBE to support my channel.
Share your craft
Do you make your craft? Share it!


