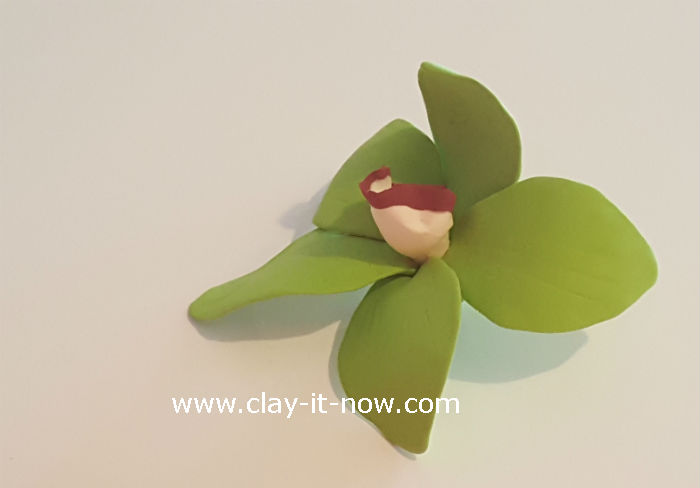
Clay Green Orchid Flower Made Easy - Tutorial Without Mold
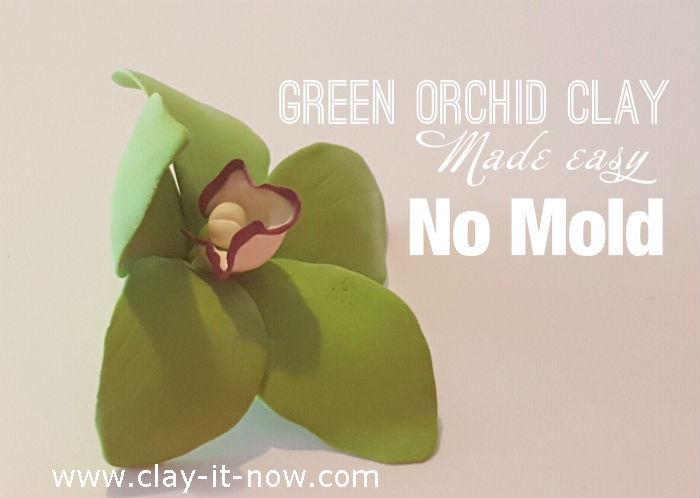
We've made clay green orchid flower in an easy way, without mold. Surely you can do it too following our tutorial.
We chose green orchid because the color is outstanding, fresh and indeed it represents life, youth and rejuvenation.
It's known as flower of energy, a symbol of nature, harmony and prosperity. Well, it would be a nice flower for birthday or wedding anniversary.
The best thing with green orchid clay is it will last for long, an everlasting bloom :)
Let's have fun making this green orchid.
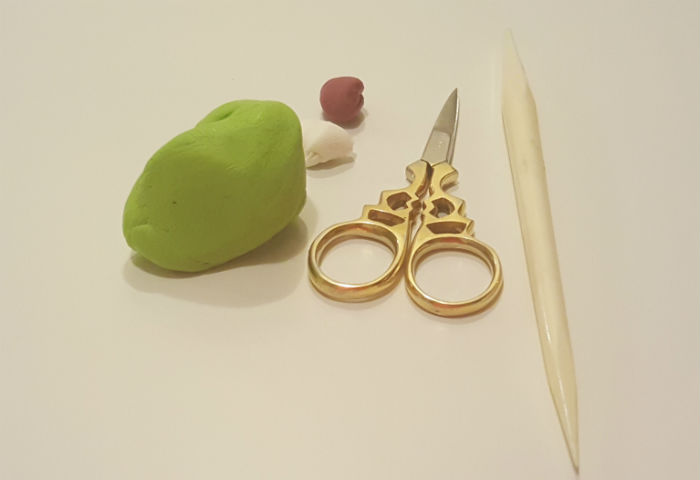
I know you will ask, what clay to use? We use air dry clay from Korea but if you are in USA, I would say Martha Stewart Crafter's Clay is probably the most suitable type of clay for making flower like this.
We use basic clay color, yellow and blue to create fresh lime green color. Check our coloring technique page to see how we use color mixing ruler to mix clay color.
Steps to make clay green orchid flower:
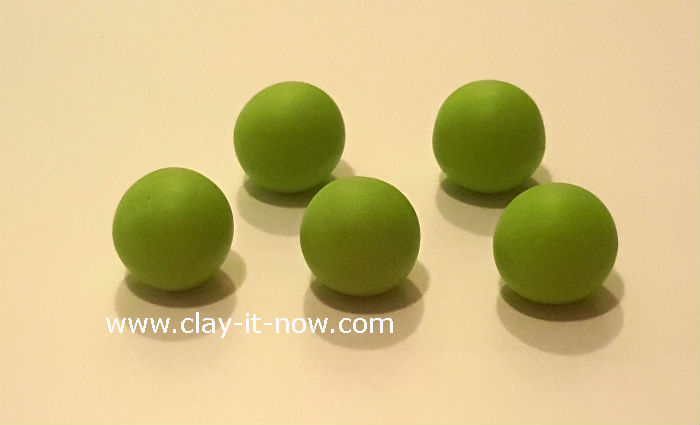
First step is to make 5 equal clay ball shape.
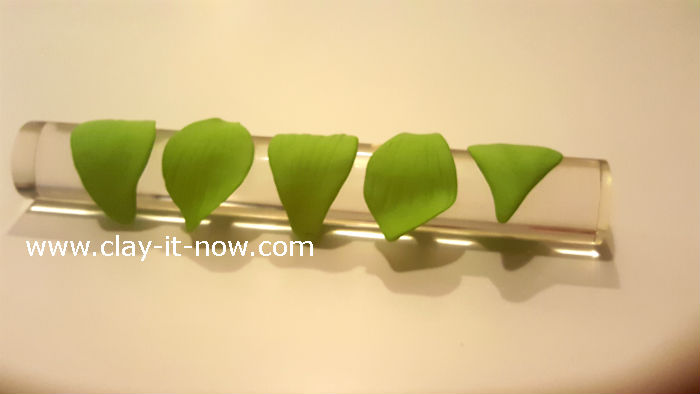
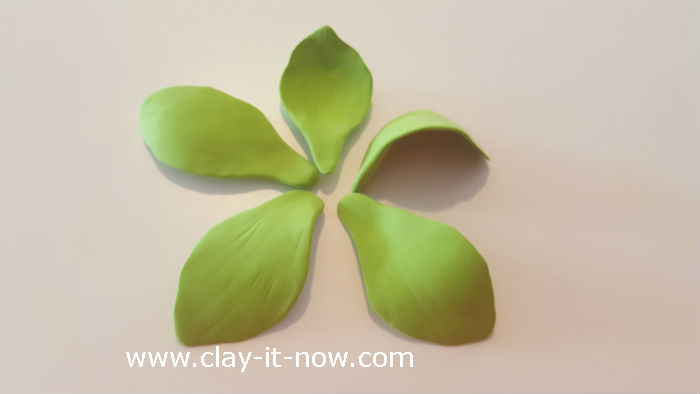
Slowly change the ball shape to a teardrop shape. Then, flatten the teardrop shape with your index finger and shape the side of the clay to make the petal.
Use your clay tool to make the vein. Don't panic If you don't have the tool. Use toothpick to draw the vein. Do it lightly.
Vary the direction of the petals and put it on top of your rolling pin or tissue to keep the petals stay in shape. Let them dry in room temperature.
Arrange those five petals on your table top (mine is kitchen bench) when it is about 75%. I want the petals to look natural so you'll see the 5 of them not exactly in the same size or shape :)
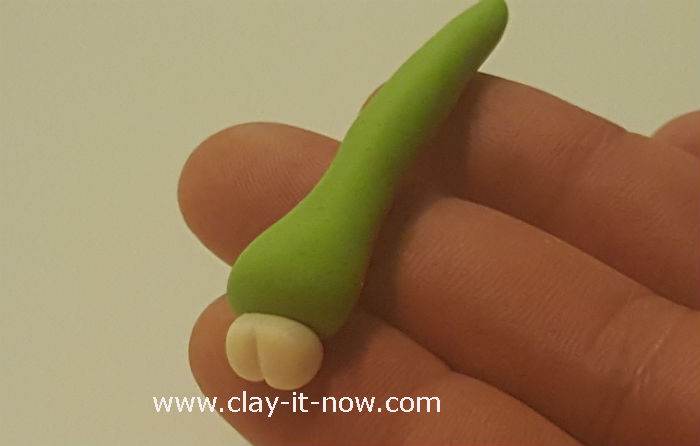
Next, make the column and lip. This would be the center of the flower.
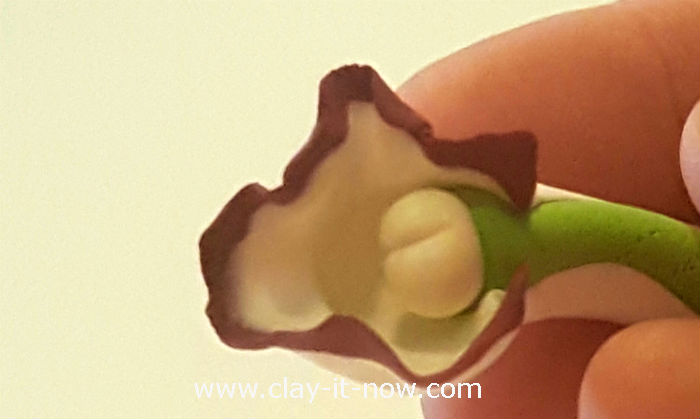
Wrap the lip around the column like the picture below.
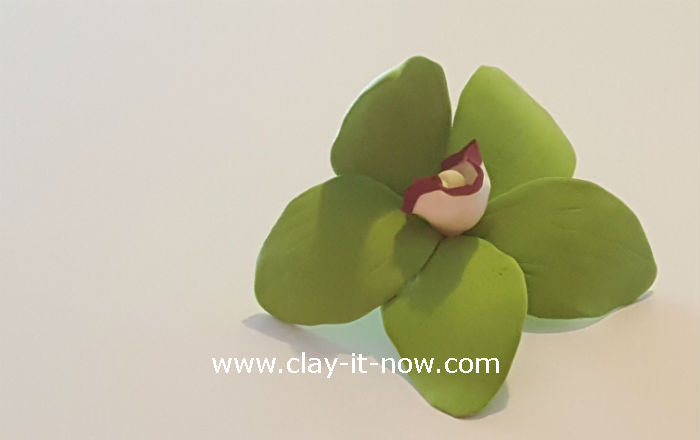
Finally, attach the petals one by one to the lip start with 2 petals in the left and right and then the 3 petals in between the two petals.
That's it. Enjoy your clay green orchid flower :)
Below is finish flower from 2 angles. You can insert the stem if you want to make flower arrangement. Or, use it as brooch, pendant or earring for smaller green orchid.
By the way, we have recorded the tutorial. Below is the video:
Flower Design Resources:
I've found some books and things for clay flowers are inspiring. These may give you ideas to develop your own design.
Please LIKE, SHARE and SUBSCRIBE to support my channel.
Share your craft
Do you make your craft? Share it!
