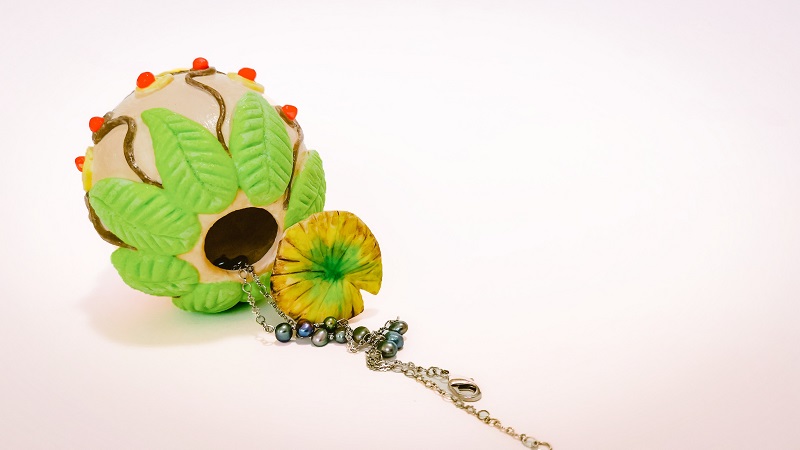
Jewelry Box Clay Mini Barrel with Leaves
This jewelry box clay with a barrel shape is kind of my experiment to test my homemade paper clay performance.
I can use balloon and paper mache to make round shape but this time I use tennis ball to get the barrel shape.
So, the clay basically stands alone - no propping.
FYI, I have done many fairy houses and other craft projects with my best homemade clay recipe with addition of salt and tissue paper.
Sometimes I am not sure if I should call my clay recipe as salt dough or paper clay.
In one of my project, little cottage house decorated with pumpkin I said I used salt dough but it's not a conventional salt dough. It is the same improved homemade clay I used for my fairy houses :)
One day, someone wrote to me said that I should call my clay as homemade paper clay. Alright! :)
Let's make mini barrel jewelry box clay ...ehm with homemade paper clay then :)
Steps to make jewelry box clay
Step 1:
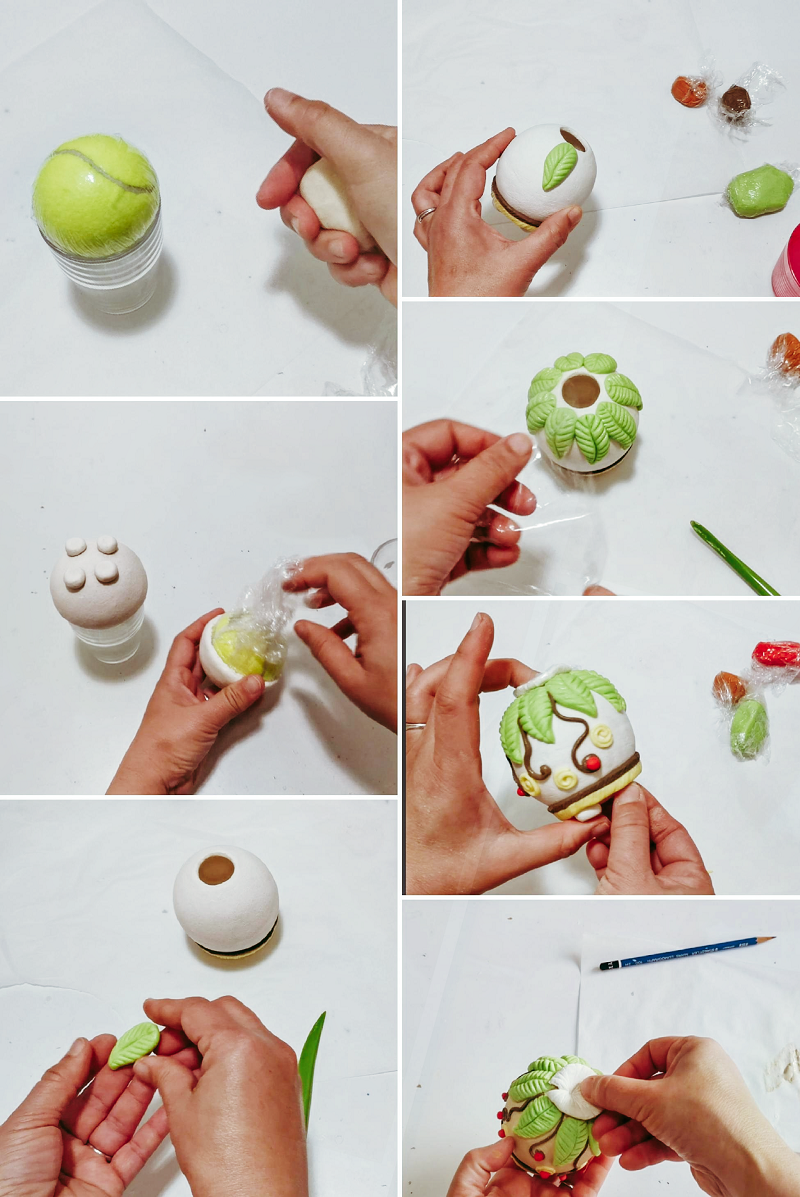
First of all, I make 2 half of barrels with homemade clay by wrapping the clay around half of tennis ball.
Add 4 small basic round shape clay for the legs and make a hole on top of the other half for the opening where we'll add leave shape lid later on.
Btw, don't forget to cover your tennis ball with cling wrap before putting in the clay on it. Clay thickness is about 0.5 to 1 centimeter.
Clay drying time depends on humidity level in your place. It took me about 4 days to dry the clay because I put the clay in a room where the heater on at night.
Yeah..we have winter in southern hemisphere now. But, you have sun in northern hemisphere, right? Make use of it! :)
Step 2:
After the 2 half tennis ball clay dry, join them with fresh clay. Smooth the clay with water. Yes! only water. You don't need glue.
After the joining part dry, you can decorate the barrel with any shape you like.
In this project I use simple leave shape like the one I did at homemade paper clay video tutorial.
Btw, I didn't paint my clay this time. I add acrylic paint to wet clay to get green, yellow, and dark brown color clay.
I did that because it's easier to use colored clay for small details. And that's it!
Step 3:
This is final step. Basically the step to protect or seal your clay so your creation will last long and durable. I use mod podge few layers on the outside and inside the barrel. Other way, you can spray craft varnish too.
Congratulations! You've just created jewelry box clay in barrel shape. It's easy, isn't it?
If you want to watch me making this craft, you can watch the video below. Happy watching!
| Clay-it-now | Kids Projects | Animals | Clay Recipes | ^Top |
Please LIKE, SHARE and SUBSCRIBE to support my channel.
Share your craft
Do you make your craft? Share it!


