How To Make Yoshi Clay

Yoshi clay figurine was created based on character from Super Mario Bros games. We've made this because it is one of the heroes and an ally of Mario and Luigi.
He is a member of the Yoshi species and has aided his brethren in saving their homeland on multiple occasions. In his youth, Yoshi managed to rescue and protect Baby Mario and Baby Luigi from the wrath of Kamek and the Koopa Troop.
According to Super Mario RPG: Legend of the Seven Stars, Yoshi is one of the few members of his species who can speak the language of the other characters, though it seems that this is not his first language, since, as in other games, his statements are translated through parentheses.
In the Mario series, he is a major character and often acts as a steed for Mario and other protagonists, while in most of the Mario sports and party games, he is a playable character.
Yoshi likely originated from another Nintendo character, Tamagon, the main character from Devil World.
Like Yoshi, Tamagon is a green lizard that hatches from an egg and can eat enemies with his large mouth, and also makes the same noise when he hatches as Yoshi does in Super Mario World.
Additionally, according to Takashi Tezuka in the Super Mario History 1985-2010 booklet, Yoshi was originally going to be a type of Koopa, and the saddle on his back was supposed to be his shell.
Koopa was known in Japan as Nokonoko, a fictional race of turtle or tortoise-like creatures from the Mario series.
Alright! it's enough for the story and let's get down to our craft :)
Steps to make yoshi clay:

We used air dry clay for this figurine.
Prepare your clay in white, black, red, orange and lime green. We've made the orange clay by mixing yellow clay with a little bit of red, and lime green by mixing green clay with a little bit of blue. Visit our clay coloring technique for more details.
We start with the body of yoshi because this will be the base of hte figurine and we want to make sure it dries and hard enough to support the head, legs and arms.
Just follow the above picture to make the body.

Next, we work on the head. You need to stop few times to complete the whole head including the eyes and its large round nose.
 |
I think yoshi has 4 fingers, does it? Well, make this you've finished with the body and head. | |
 |
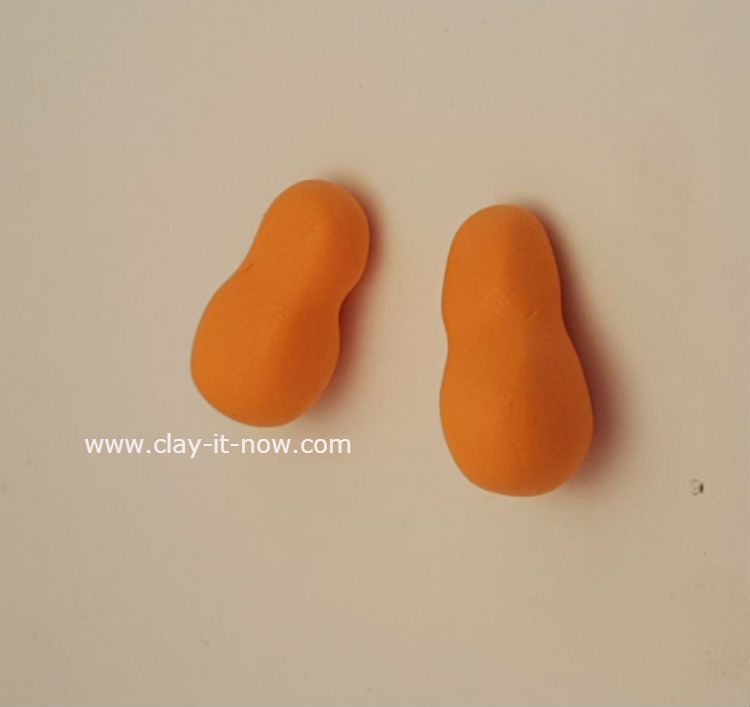
These would be the legs | |
 |
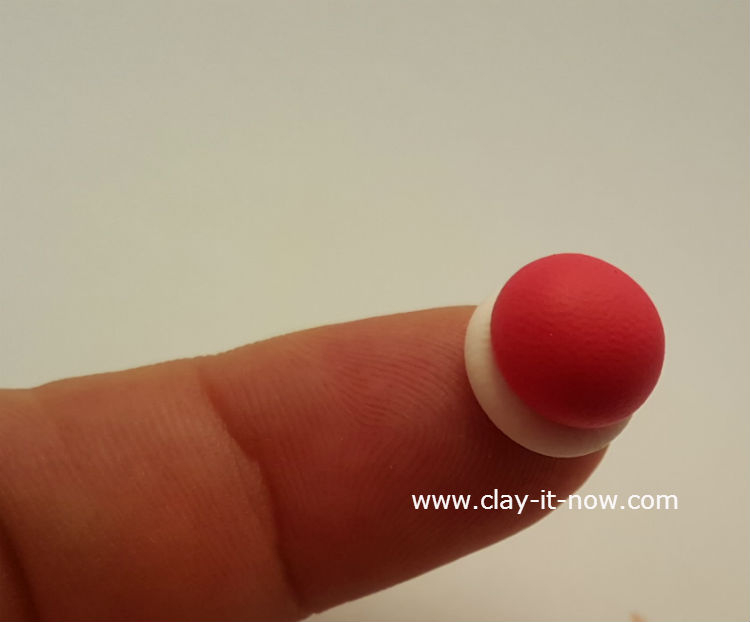
Obviously, these are the shoes :) | |
 |
Finally, make the the saddle. |
After all parts done, paste it one by one to yoshi's body. Use tissue to support the legs so it won't collapse.
Alright, it will look like below (front and back view).


Once you paste the head to the body, our yoshi clay is completed. Yeah...it's done!


Please LIKE, SHARE and SUBSCRIBE to support my channel.

Share your craft
Do you make your craft? Share it!