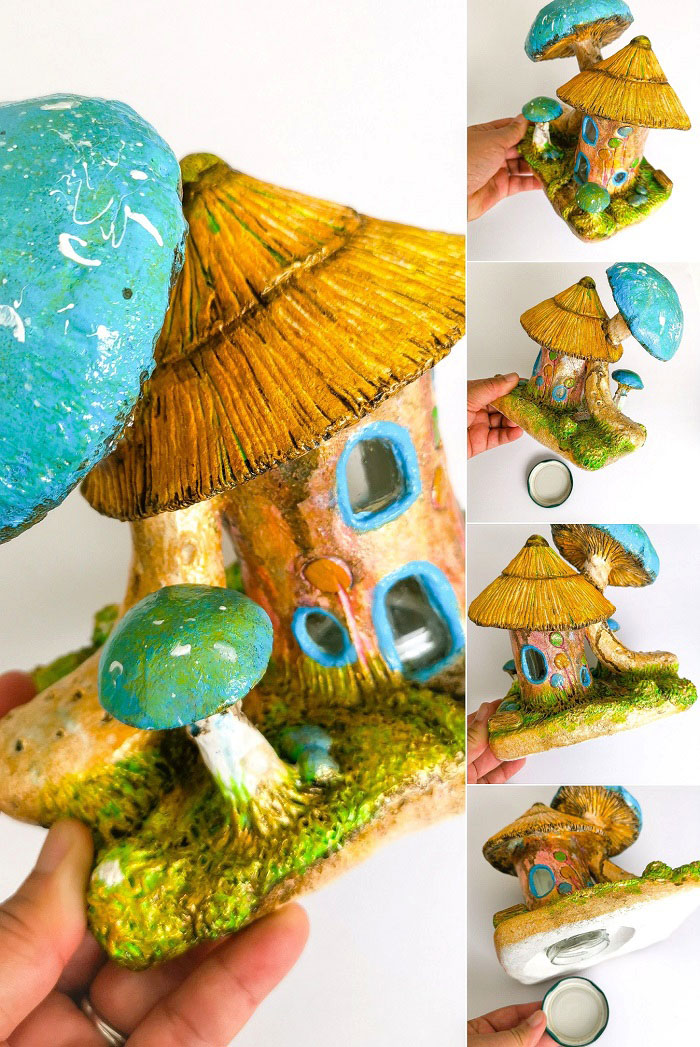
Blue mushroom Fairy House Jar Idea
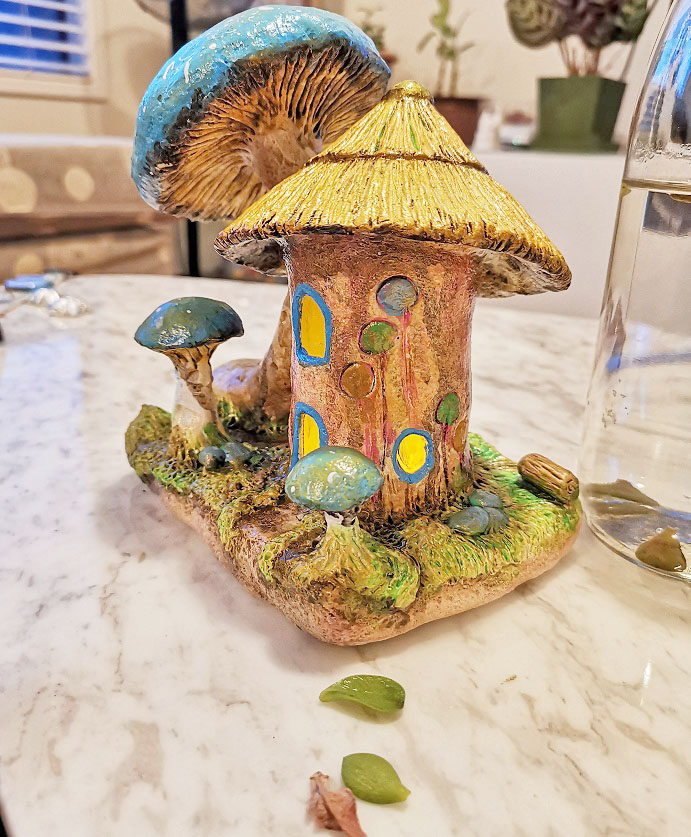
This blue mushroom fairy house is my first fairy house craft done with upside down jar.
This way, the jar still functioning but the lid placed in the bottom instead of on top as usual. You can insert LED candle light or keep things inside the jar.
And, I have lots of fun playing with shapes and colors when making this fairy house. I saw traditional toadstool fairy house red and white mushroom color everywhere but I want it blue like umbrella on top of hut or thatched house.
Well...the design came to my mind after my recent beach holidays to Adelaide, South Australia.
I can't forget the sight of beautiful blue sea and beach umbrella :)
So, here I am making fairy house jar for home decoration in blue color theme.
Oh yah...this is just an idea. You can choose any mushroom colour if you don't like blue mushroom :)
Let's start!
How to make blue mushroom fairy house jar?
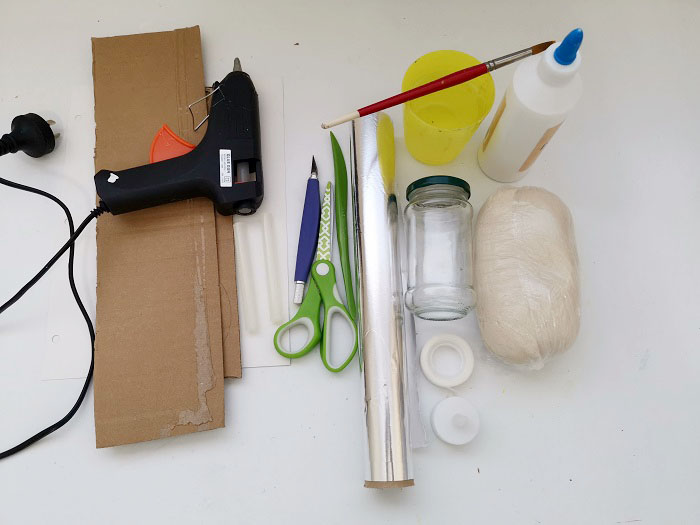
Alright! Before we start, prepare your clay tools. If you watch my videos, I would normally use 2 or 3 tools only :)
Well, basically I use only those in the picture above. For the jar itself, you can use any sizes you like.
As for the clay in this tutorial, I used best homemade clay recipe with a little bit of tissue paper clay added to it. Basically, the tissue fibres and cornflour make the clay not too bouncy or stretchy. The clay will also take the detail better.
Btw, if you are not sure about homemade clay, you can use readymade clay, like air dry clay from Fimo, cloud clay or Crayola.
STEP 1: Make the House Base
In this craft project, I work from bottom to the top because it is important to have strong and sturdy base.
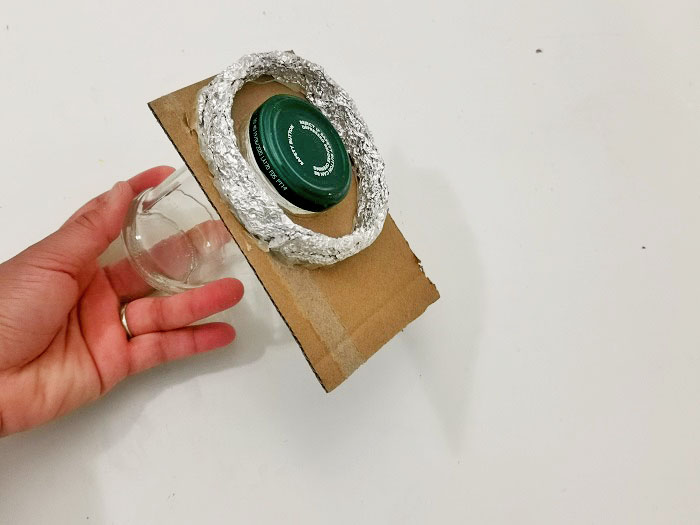
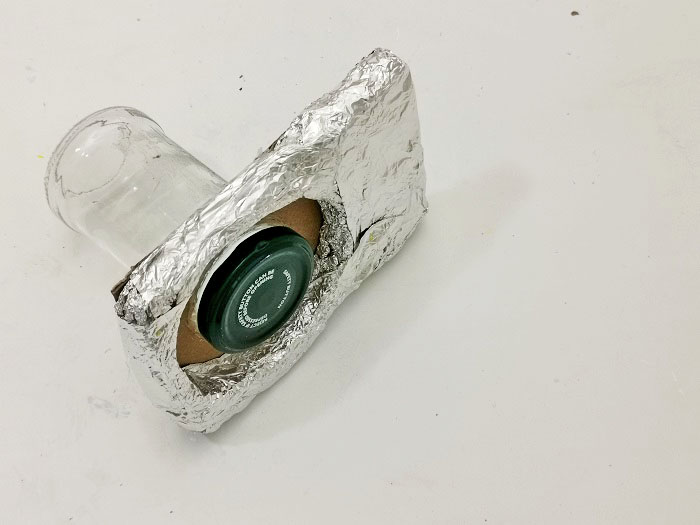
I use cardboard and hot glue around the neck of opening jar. And then make aluminium ring with enough space between the jar lid and the ring to open and close the lid.
Then, I cover the whole base with aluminium foil with ring height as the benchmark.
After that, cover the base with air dry clay and leave it until the clay dry and hard. In my video you'll see that I've stamped the word Clayitnow on the base. You can add any mark when the clay still wet.
You can personalize your creation like adding a name or symbol. It would be nice if you are making a gift for someone or if you want to sell your fairy house.
STEP 2: Shape the Roof
When the clay at the base hard enough ---> means the shape will not distorted, you can now work on the roof.
I make a cone shape for roof with a hole so I can slip in the mushroom through the hole.
STEP 3: Build Giant Mushroom Shape
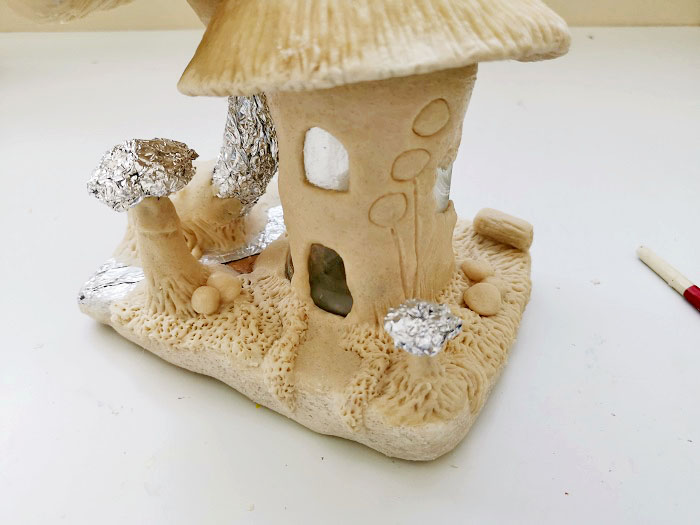
Again, use aluminium foil to make mushroom shape.
STEP 4: Wrap the House and Roof with Air Dry Clay
When all of the shapes done, cover the roof, mushroom and the jar with air dry clay.
Make thatched roof texture, grass texture and any texture you like on the exterior house wall.
And, wait until the clay dry.
STEP 5: Coated with White Gesso
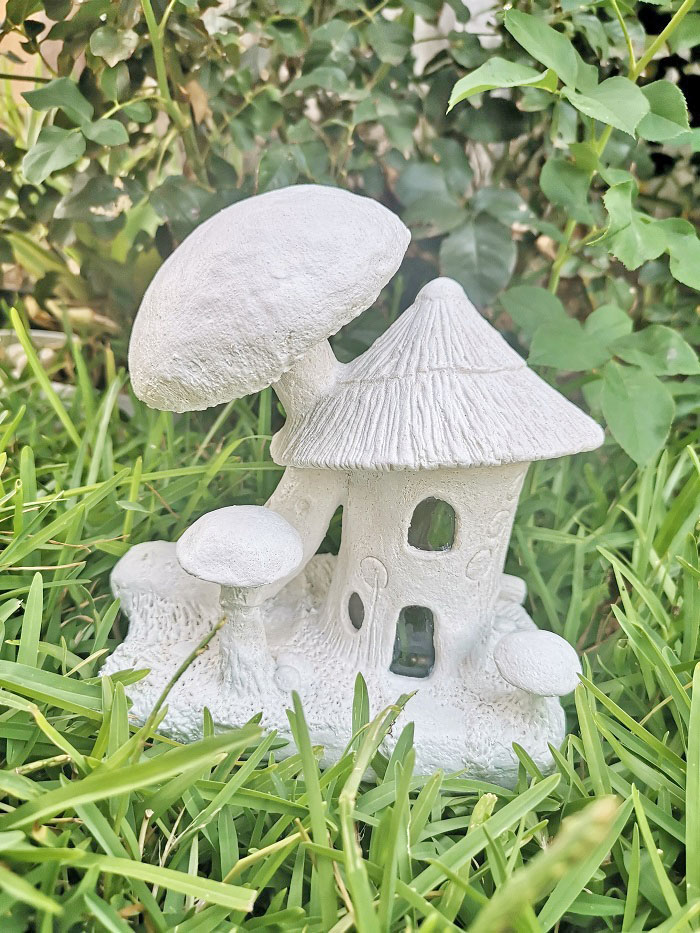
When the clay dry, I use white gesso to cover all clay surface. The gesso will give first protection to clay and also make the acrylic color stands out when we paint our blue mushroom fairy house in later stage.
STEP 6: Painting
Finally, we are at the most exciting and yet relaxing part of crafting. Yeah..it's painting time! It's so rewarding watching my blue mushroom fairy house change its look from clean white house to ehm....fun and playful house I think. What do you think?
Video Tutorial
| Home | Top of the Page | Next |
Please LIKE, SHARE and SUBSCRIBE to support my channel.
Share your craft
Do you make your craft? Share it!
