Faux Stone Container: Altered Shape Jar & Old Magazine - DIY Idea
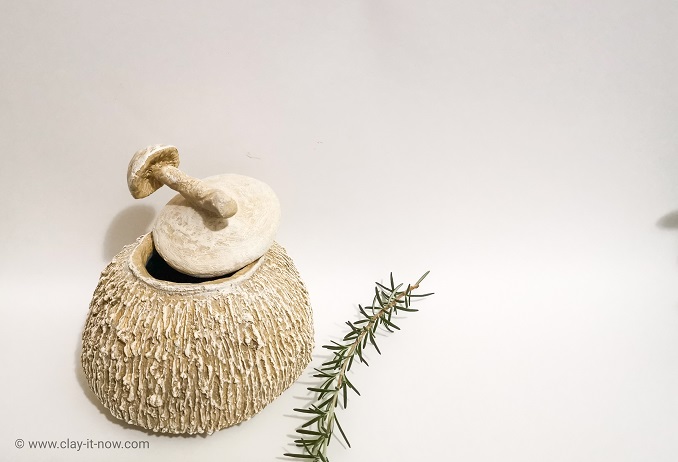
This faux stone container was created with used salsa jar as a core and kind of dumpling shape crumpled paper from old magazine to alter the jar shape.
Well, this craft idea come to my mind when I was flipping old magazine, feeling bored, and almost falling asleep on the couch.
Yeah..I quickly ran to my messy table and start crafting when the idea struck my head. Actually, I was dreaming about making a ceramic pot on the wheel ha..ha.. but you know that I only have air dry clay - handmade clay, no natural clay, no kiln, no pottery wheel.
But, hey...with a little bit of imagination, nothing can stop me to make something like out of ceramic studio with bare hands, minimum tool and handmade clay.
Here, I am happily sharing with you what I've made - another copycat pottery ha..ha..It's a faux stone container this time :)
I want to have the color like Egyptian stone but with stone formation like those found in a cave.
Do you think that piece looks professionally made, oh..ehm I meant not child-like kind of piece? I am purposely make it that way because I was thinking to give this to someone (not a kid but an adult) as a gift.
By the way, this piece could also be a nice handmade idea for mother's day gift or just to keep your own things inside the jar. Yes! the jar still functioning though.
Alright, let's have fun crafting!
Tools & materials:
- 16 pages of old magazine
- used salsa jar
- black gesso/ black acrylic color
- brushes
- water
- tapes
- cardboard
- aluminium foil
- hot glue and hot glue gun
- scissors/ craft knife and FORK
- air dry clay
- acrylic paints: skin-tone olive and cream
Steps to make faux stone container:
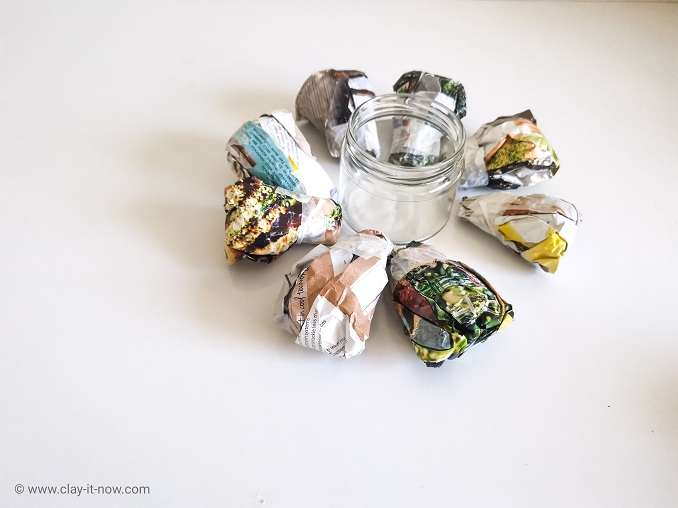
First, make 8 pieces of something like dumpling shape paper from old magazine.
Take 2 sheets of paper, squeeze the middle of the paper at the shorter width, and fold it in the middle. Make the bottom part fat and flat on the top. Then tie the top paper with tapes.
You can see those 8 pieces paper dumpling as below picture.
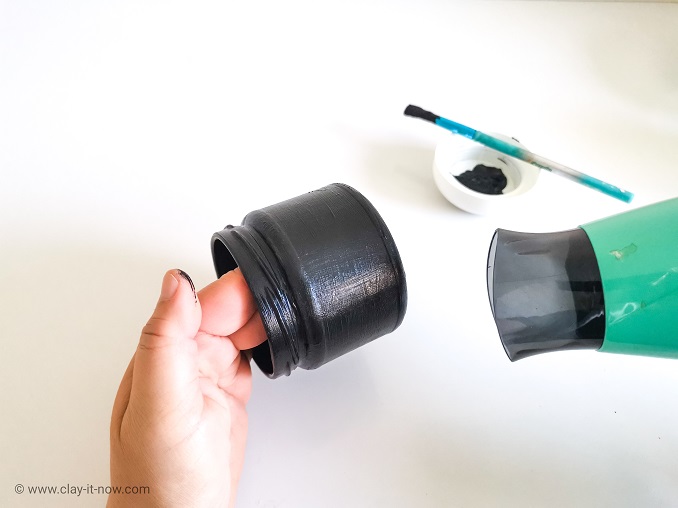
Next, paint your salsa jar with black acrylic. I use black gesso universal primer here. Apply about 2 coats of gesso or 3-4 coats of acrylic paints. You can use hair dryer to speed up the drying time in between the paint layers.
Alternatively, you can use white glue and toilet paper if you want to see white color from inside the jar.
I prefer black this time so, you can't really notice the shape of the jar after altering the outside shape to a rounded shape.
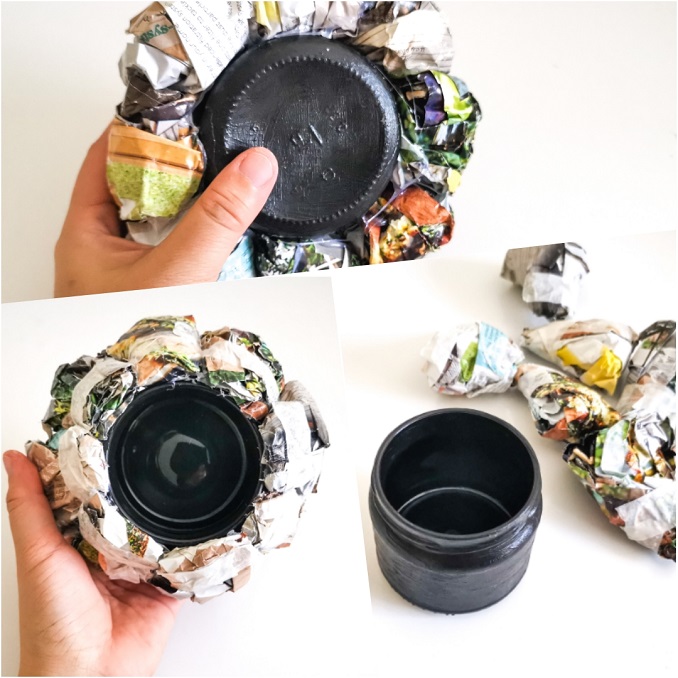
After the black gesso/ acrylic paint dry, use hot glue and hot glue gun to attach those 8 pieces paper dumpling.
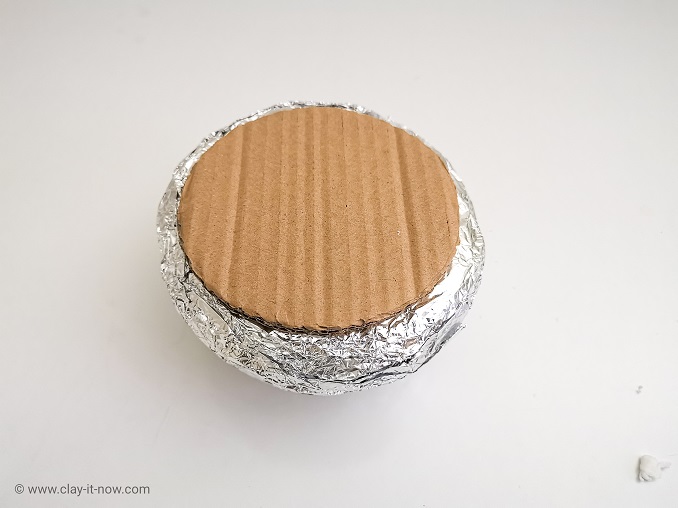
Next step, use continue piece of aluminum foil to wrap the jar. The aluminium foil will strengthen the new shape of jar that has been altered with paper dumpling.
You can have 2 or 3 layers of aluminium foil to help you getting the right and strong shape. You can roll the container on the table/ hard surface to make it firm.
Then, cut a round shape of cardboard as the base and paste it to the container with hot glue.
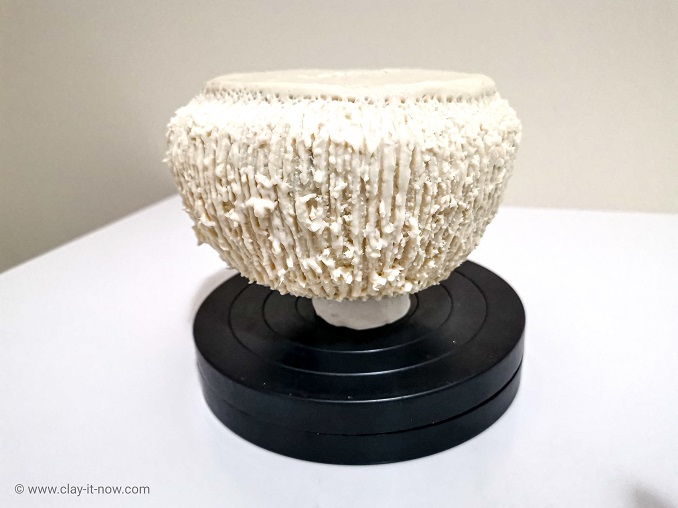
After you have established the container shape, wrap it with air dry clay. Any type of air dry clay is okay. Here I use homemade clay.
If you want to buy air dry clay you can check my page about "what clay to buy" to see 3 types of air dry clay for you to choose.
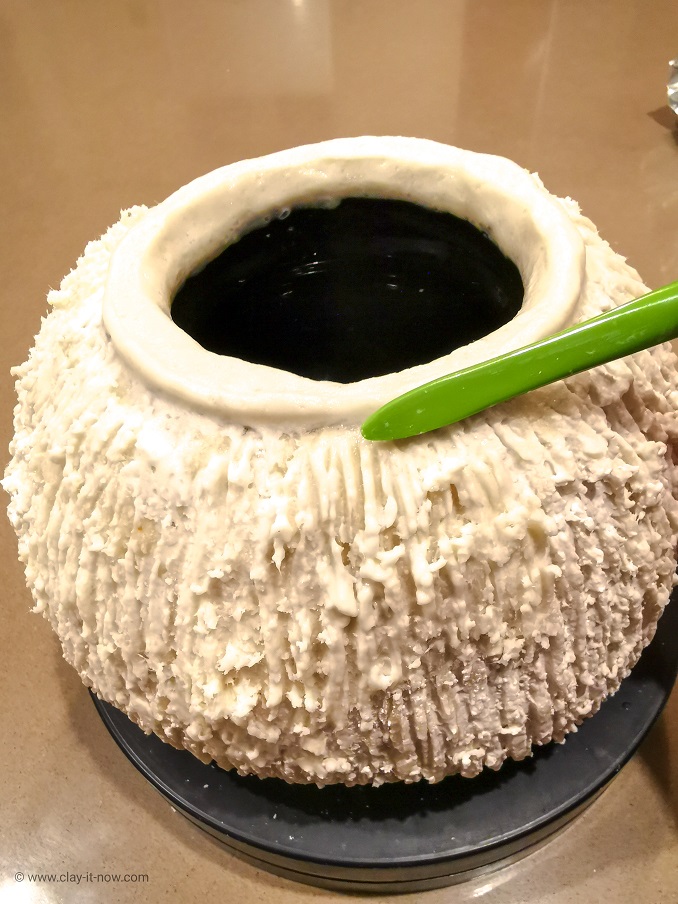
To make faux stone formation texture, I use fork. Surely you have this clay tool, right? :)
When you've finished making the texture, stop and wait for the clay to dry.
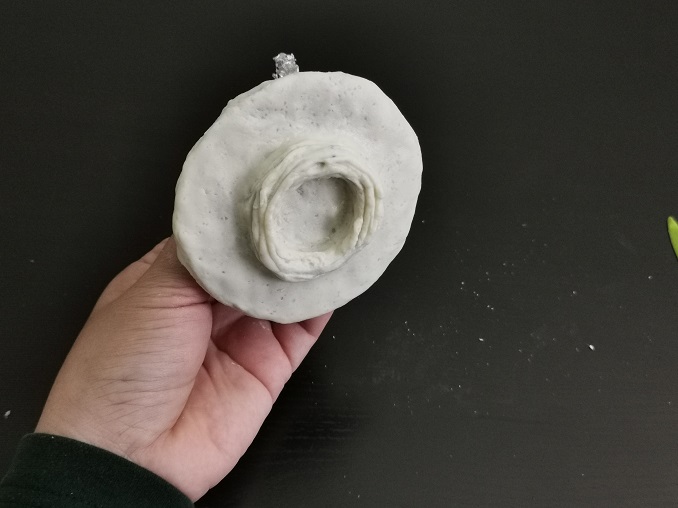
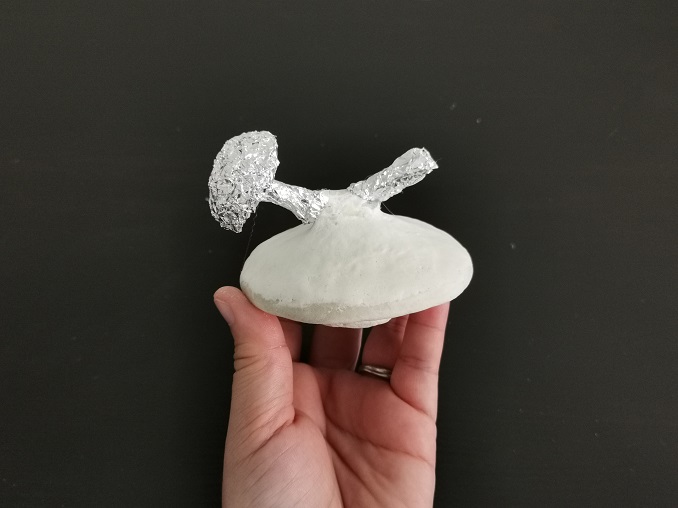
While waiting for our faux stone container to dry, let's make the lid with cardboard and sculpt a mushroom on top of the lid for decoration and also as the lid handle.
When cover the cardboard with clay, I work from the inside and then the top.
By the way, you can go back to the container when the clay has dried. Then tidy up the rim of the jar with clay.
And...wait again until the clay dry.
Finally, the last step of our faux stone container project is painting, yayyy.....GOOD NEWS! I only use 2 acrylic colors to paint this container. Those are skin-tone olive for the base and cream for highlight. That's it!
Oh ya, you can also watch my video tutorial at my YouTube channel. Please LIKE, SHARE my video and SUBSCRIBE to my channel to support and encourage me making more tutorial. Thank you for your support.
| Home | ^Top | Clay Project for Kids |
Please LIKE, SHARE and SUBSCRIBE to support my channel.
Share your craft
Do you make your craft? Share it!
