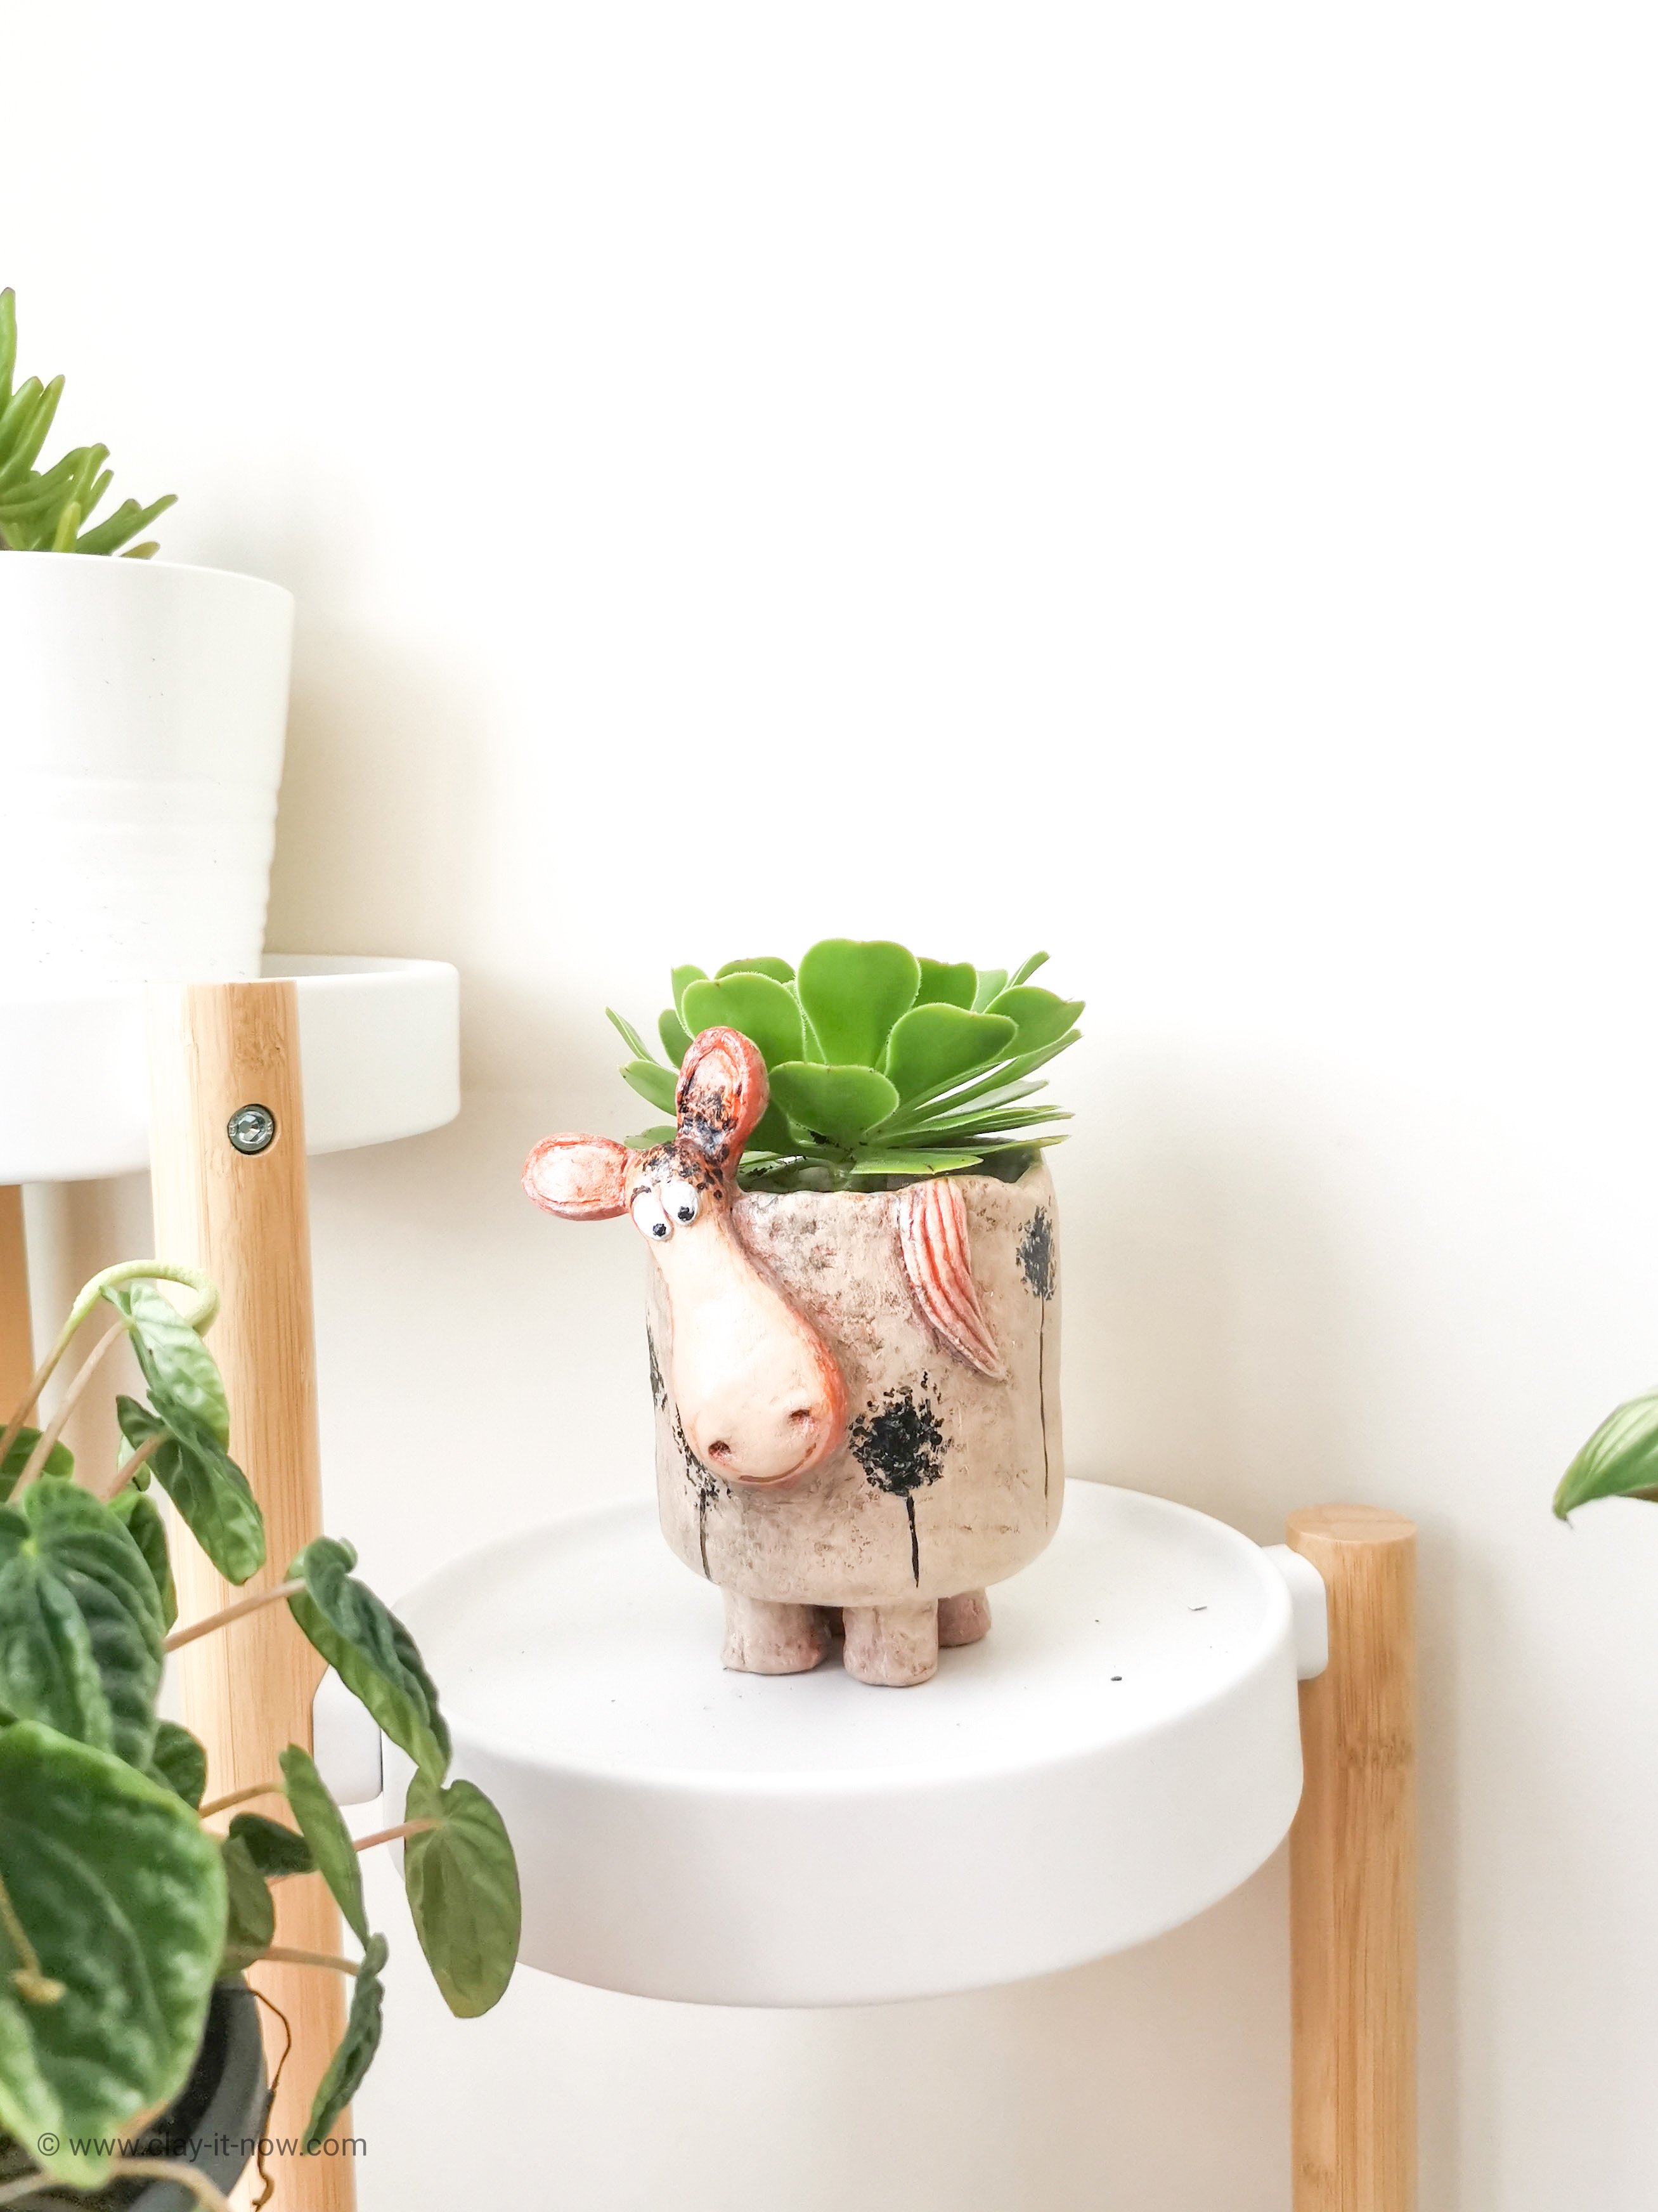
Giraffe planter DIY - Paper Clay Tutorial
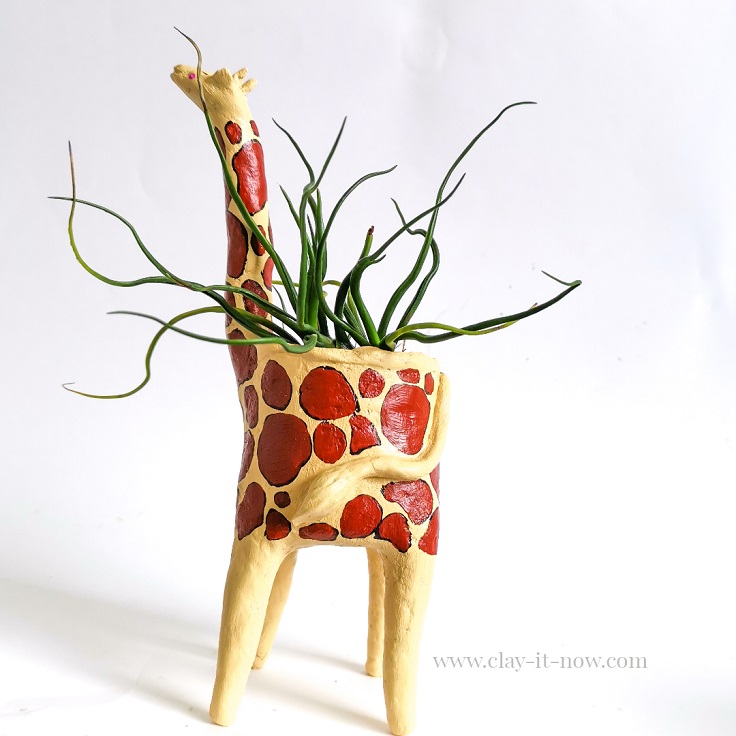
I make this giraffe planter with my version of paper clay using newspaper. This is kind of experimental craft project because I do not know if it will turn out okay in the beginning because I have never been working with newspaper for homemade clay before.
Surprisingly, the newspaper fiber is very tough and make my clay strong and at the same times very light. I completed this giraffe planter in one sitting without waiting for the bottom part or legs to dry to wrap the upper body with clay.
Steps to make giraffe planter:
Step 1: Prepare your paper clay. You can skip this stage if you already have the clay. If not, why not make your own paper clay? It is very easy with simple material you already have. Check out my paper clay video tutorial.
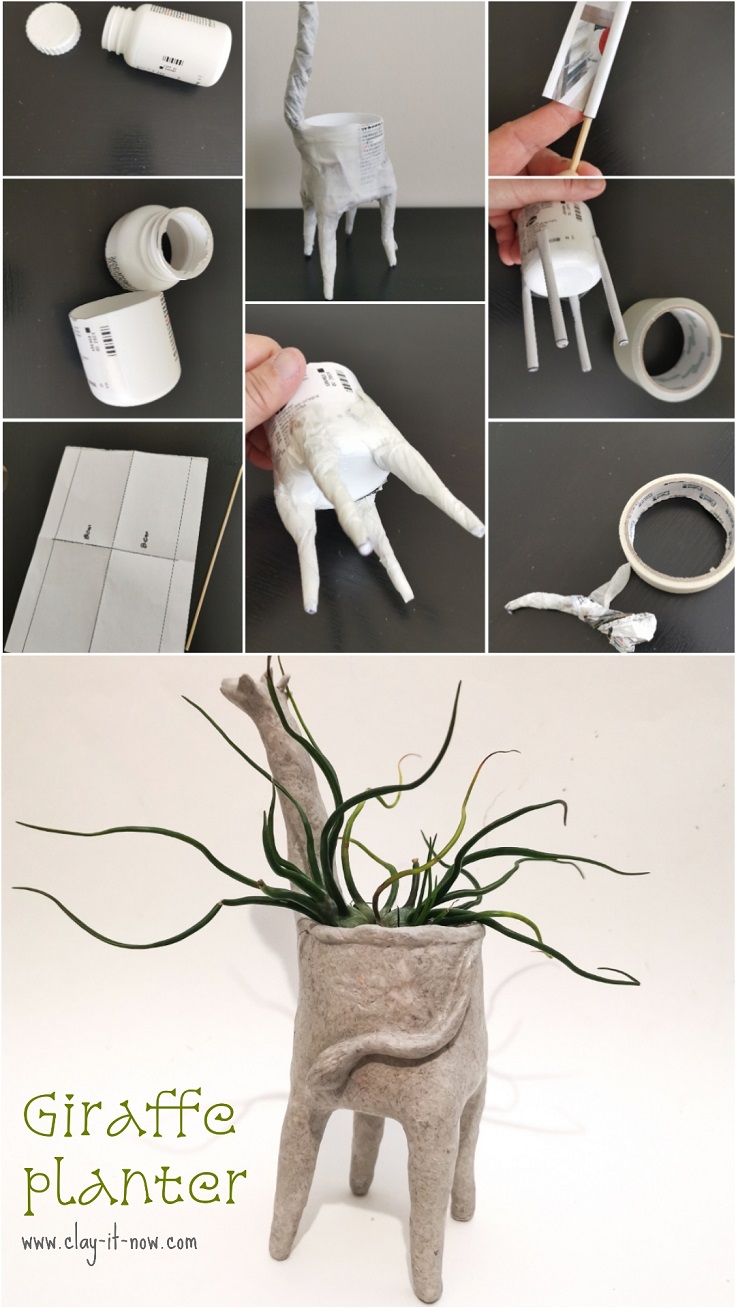
Step 2: Get your used plastic container (any size) for the planter. Here I use vitamin bottle. Cut it about 3/4 of the bottle and remove the top part so, you will have clean cylindrical shape.
Step 3: Make the giraffe’s legs. Fold A4 paper size to 4 and cut it – make the length of small rectangular piece to about 8cm. Roll the paper with skewer. You have 4 paper tubes for legs now.
Step 4: Attach those 4 paper tubes to plastic bottle container with packing tapes. Add more paper to the upper legs. Shape it nicely and seamlessly with the plastic bottle and wrap it with masking tapes.
Step 5: Make the giraffe long next and head basic shape with paper (newspaper/ old magazine/ any wastepaper). Wrap it with masking tapes again and attach it to the plastic bottle with packing tapes.
I have found that packing tapes stick on the plastic bottle better than masking tapes.
Step 6: To make sure all parts we attach to plastic bottle connected strongly, bind all pieces with kitchen towel and glue. It is like when we do paper mache sculpture. Apply glue with old brush on the surface and paste thin layer of small piece kitchen towel layer by layer – overlapping each other until you have covered the whole surface.
If you have 2 ply of kitchen towel, separate them, and cut it to small pieces.
Wait until the glue dry before wrapping the whole surface of giraffe planter with paper clay.
Step 7: When the glue dry and all shapes in place, cover the planter with clay start with the legs and bottom part and then move to the body and upper part – the next and face.
Stop here and wait until the clay dry.
Step 8: Use sandpaper to make the clay smooth after it is dry. After sanding, the giraffe planter has smooth light grey color. And I can see a little bit of fine paper pulp texture.
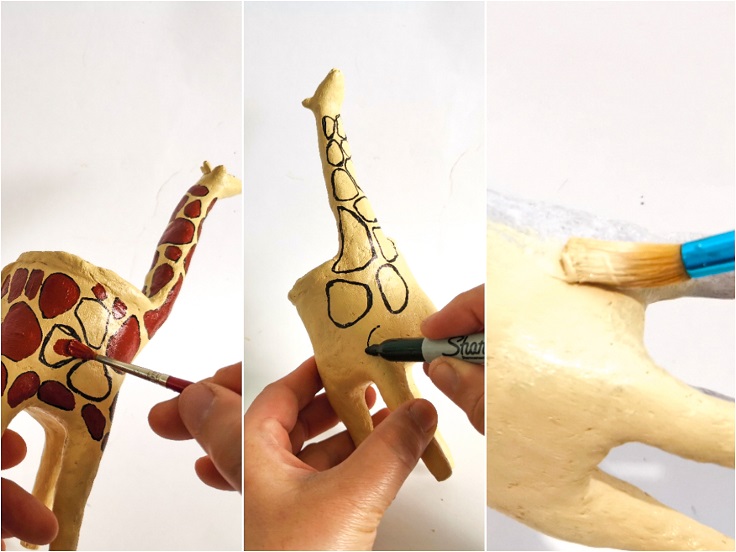
It looks beautiful. The giraffe planter looks like made of cement. But, I like painting. So, after sometimes looking at at, I can't stop my hands and I started painting the giraffe :)
Hope you like my tutorial.
Please visit Clayitnow Youtube channel, subscribe and turn on the notification so, you'll be notified once new video tutorial uploaded.
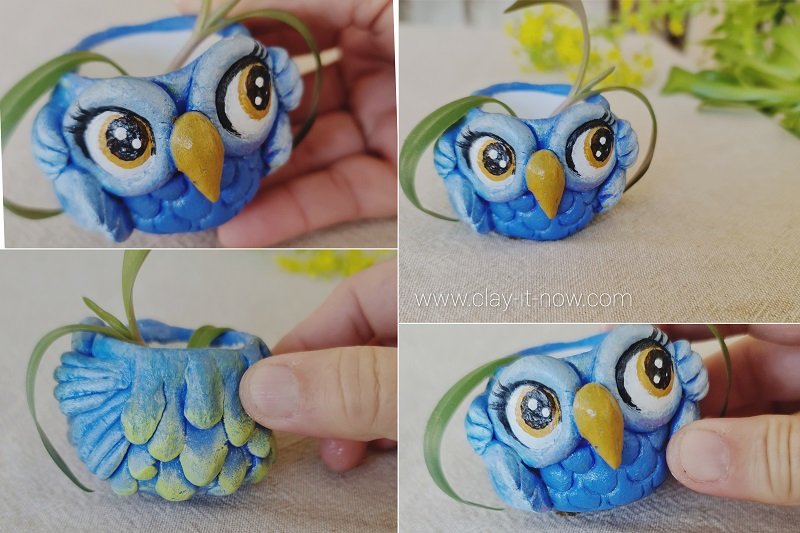
Other projects you may like:
| Home | ^Top of Page | Kids Projects |
Please LIKE, SHARE and SUBSCRIBE to support my channel.
Share your craft
Do you make your craft? Share it!
